FAQ
General Questions
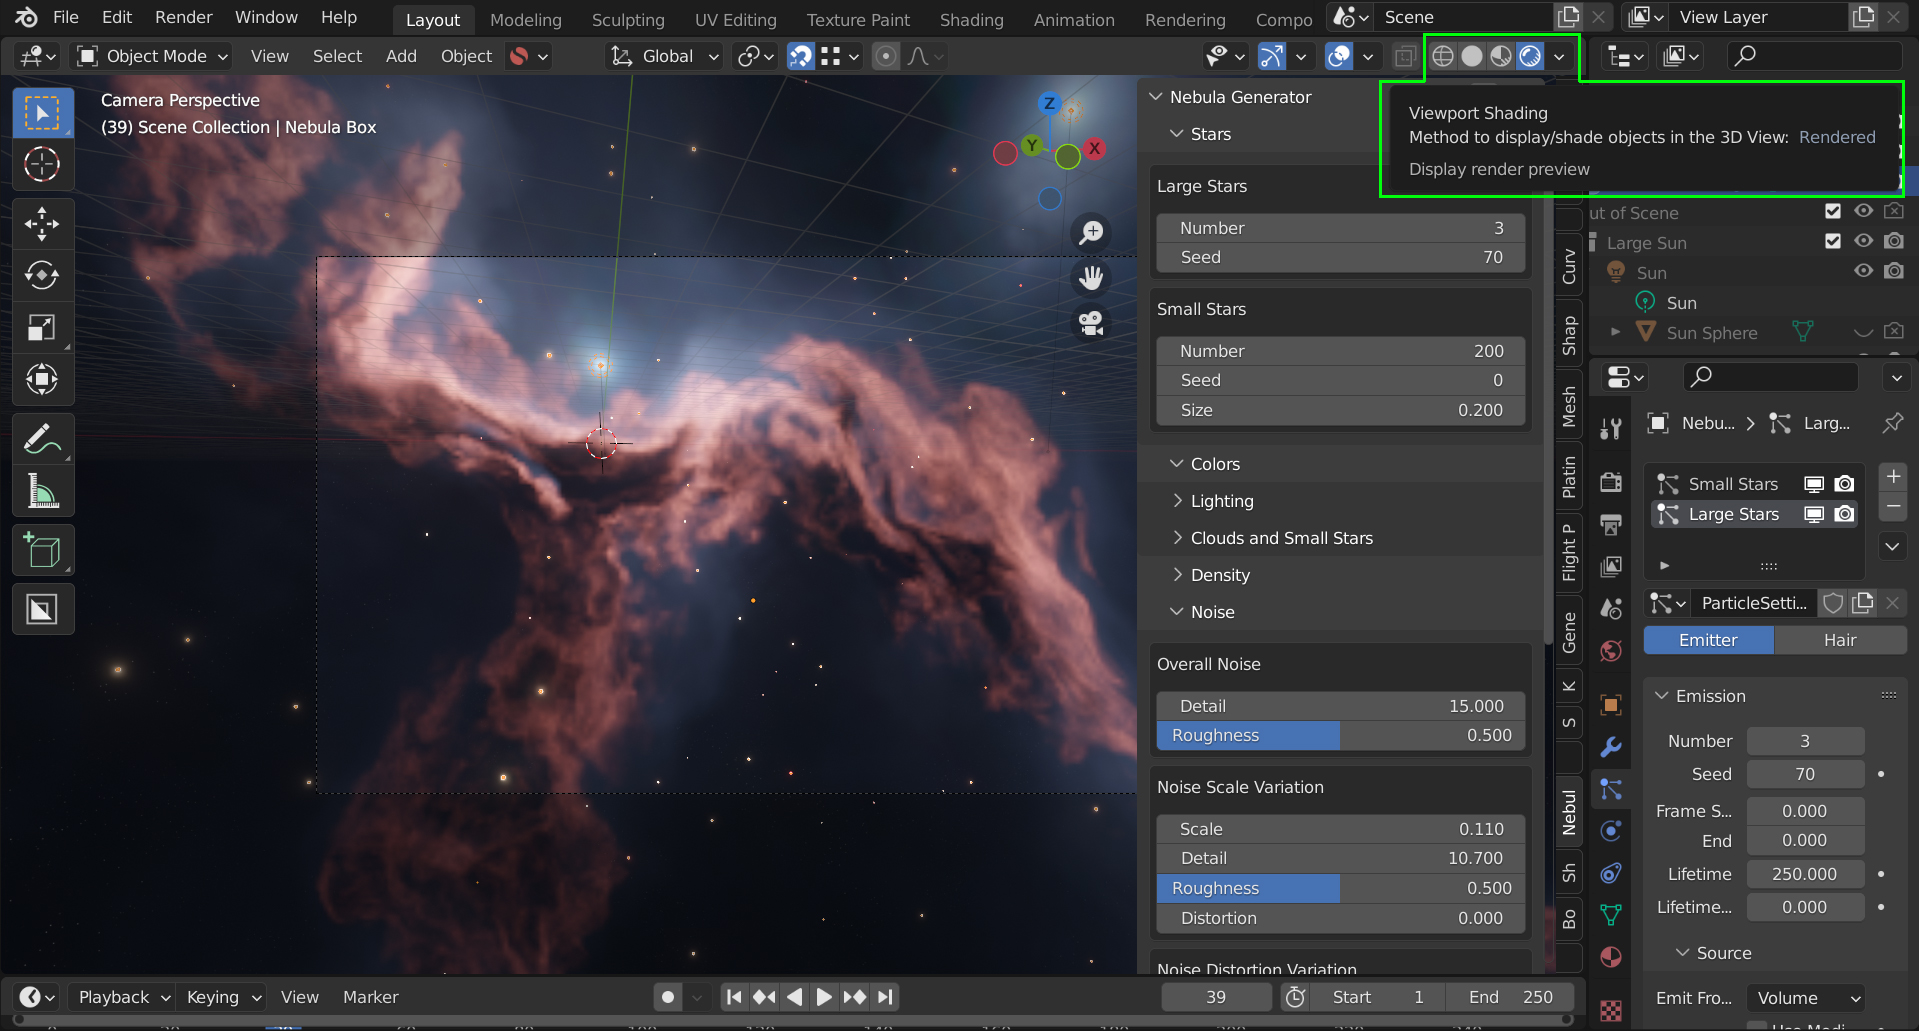
When I load the .blend file the viewport is blank. What’s happened?
You have to change the viewport shading mode to “Rendered” by clicking the viewport shading button in the top right of the viewport, Blender does not load the Rendered viewport shading by default.
How can I control the parameters more slowly when I move the mouse?
A neat trick in Blender is the shift key - whilst clicking and moving the mouse over a parameter, hold shift. The values will change more slowly. Especially for this node group, you can more subtly change the effects.
How best can I control the parameters? I’ve managed to change something so that I’m not getting a good effect. What do you suggest I do?
You can click and slide the mouse over multiple parameters and change them all at once - this is useful when you want to change a property on all 3 cloud settings.
Also, by hovering over the parameter box and hitting the delete key, the parameter will return to its default value.
There are a set of sample .blend files I have supplied in a .blend file to give you a head start in configuring different effects. I’m sure you can find more.
How can I put an object into the Nebula?
This is best achieved using Blender’s compositor, otherwise the light from the nebula will adversely affect the object. Here is a video showing how to do this:
I have a Mac with an AMD Radeon GPU Pro, and when I load the 3D Nebula Generator I can only see the stars. What’s happened?
There seems to be an outstanding issue with Blender’s EEVEE volumetrics engine and the Mac OS AMD Radeon Pro, described here: https://developer.blender.org/T65873
I cannot see the Control Panel in Blender.
Make sure you have done the following:
Make sure the panel is installed.
The panel will only open with one of the Nebula Generator files with the ‘Nebula Box’ object in it.
If you cannot see any of the side panels on the right, pressed the ‘N’ which should make them appear.
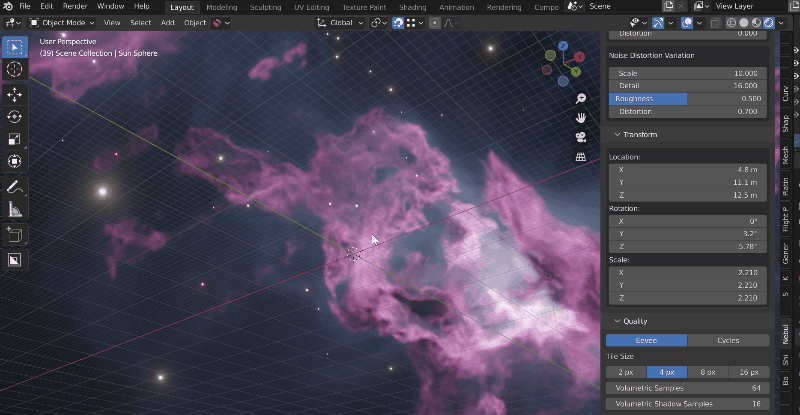
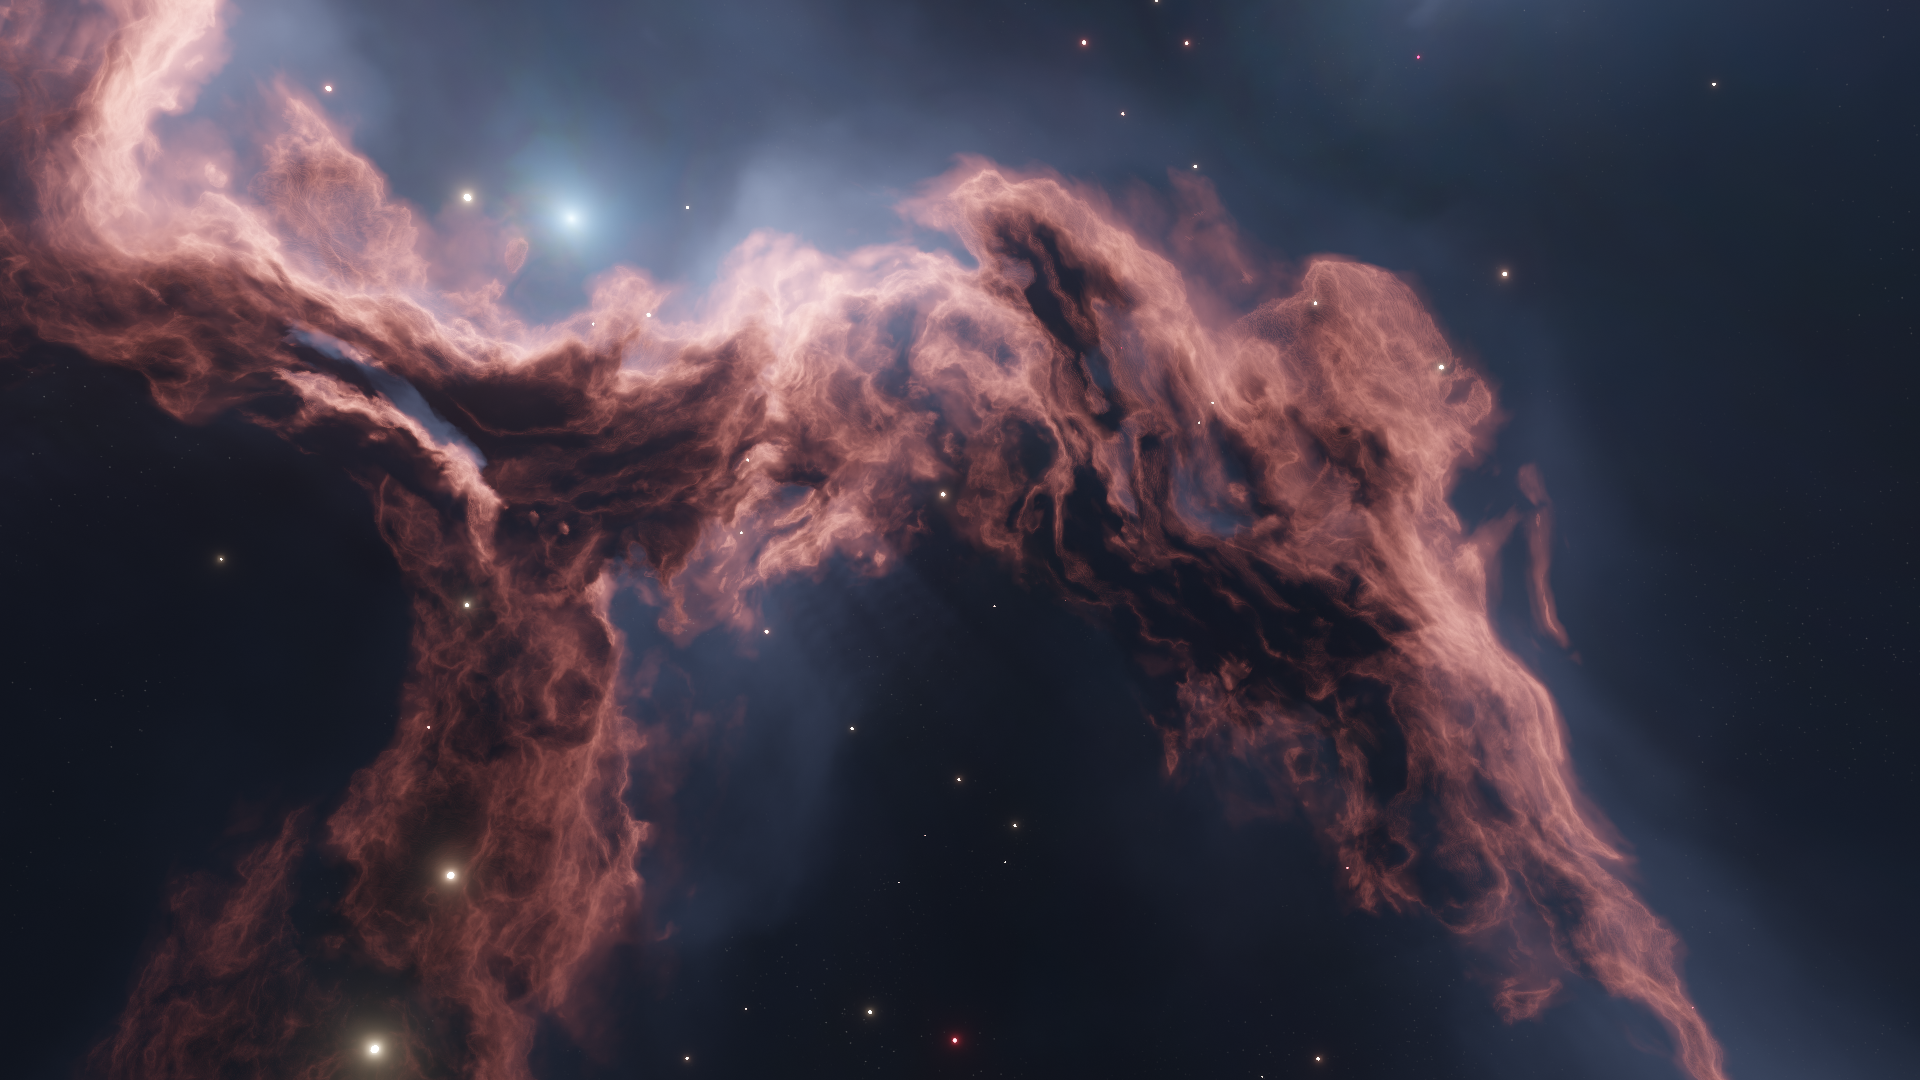
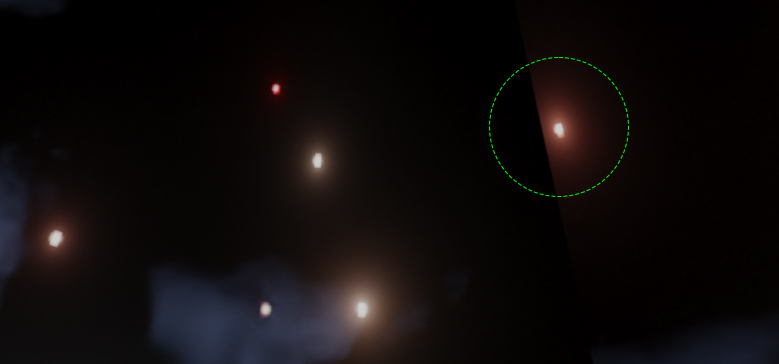
There are visible squares around the stars in the nebula when rendering in Cycles. How can I remove them?

The square effects are a result of billboarding of the stars in the nebula, where the stars are actually flat image planes that always face the camera. You should be able to remove this by selecting the Nebula Box object, going to the Material properties tab, expanding the Settings section, going to the Volume sub-section and changing the Sampling type from Equiangular to Distance:

Any general tips?
Activate the built in Node Wrangler add-on and hold SHIFT-CTRL and click on a node to see the individual effect of each node. This will help understand how the different parts of the effect is made up.
By adding node groups like noise and musgrave to the inputs of the main node group, you can get lots of additional interest effects. I’d encourage you to experiment and let me know if you get anything interesting.
- 2D Version
I have added a curves node to the outputs of the stars and nebula node groups - playing with those settings will help intensify the colours of the nebula further.
Try swapping out the stars input for your own starfields and you should get more interesting effects.
- 3D Version
When changing parameters that have a significant effect or preparing for a render, switch the viewport to Wireframe mode.
Start with a Resolution of 1:4 or 1:8 and a low Samples value, change parameters, and then increase them gradually to get the desired effect.
When animating, you will experience strobing effects on the clouds unfortunately in EEVEE. This can be countered with a higher Volumetric Shadow Samples and Volume Steps but may not be resolved entirely.
Although the default renderer is EEVEE, the file can be adapted for CYCLES by changing the rendering format and changing the parameters of the materials. Even though there will be a significant performance, this removed the strobing artefacts mentioned earlier.
Should I use Eevee or Cycles?
You can switch between the Eevee and Cycles render engines at any time in the Quality section of the control panel or in Blender’s Render Properties. Here are some advantages and disadvantages of each render engine to help you choose.
A possible workflow is to work in Eevee to set up the overall effect, and then switch to Cycles to tailor it further, if needed.
Eevee
Advantages of Eevee
Quickly visualise the effect in the viewport.
Faster than Cycles.
Good for medium resolution still shots and backgrounds.
Disadvantages of Eevee
When animating, a strobing or flickering effect can occur. This is because EEVEE converts the nebula to flat 2D cards when rendering. A workaround is to increase the Volumentric Shadow Samples and Volume Steps in the Render Settings to as high a value as possible.
Edges of the clouds can appear blurred, which can be sharpened if you increase the Resolution. However there is a limit to how sharp the render will be.
Intended as a fast preview renderer, Eevee will encounter performance issues at higher >4K resolutions.
Whilst rendering, Eevee will use your display adapter which can cause general slowdown on your computer.
Cycles
Advantages of Cycles
Better for animations as it eliminates Eevee’s strobing effect.
At higher sample settings it will show enhanced detail (at the expense of performance).
Good for Higher resolution stills and animation.
Disadvantages of Cycles
How can I improve the Eevee render?
Tip
There are further hints and tips about which Eevee settings to change in the Eevee Quality Settings section.
Increasing Resolution
If you increase Eevee’s volumetric Resolution setting to 1:1 to increase the detail seen in the nebula. This setting is the size of the pixels in a volume:
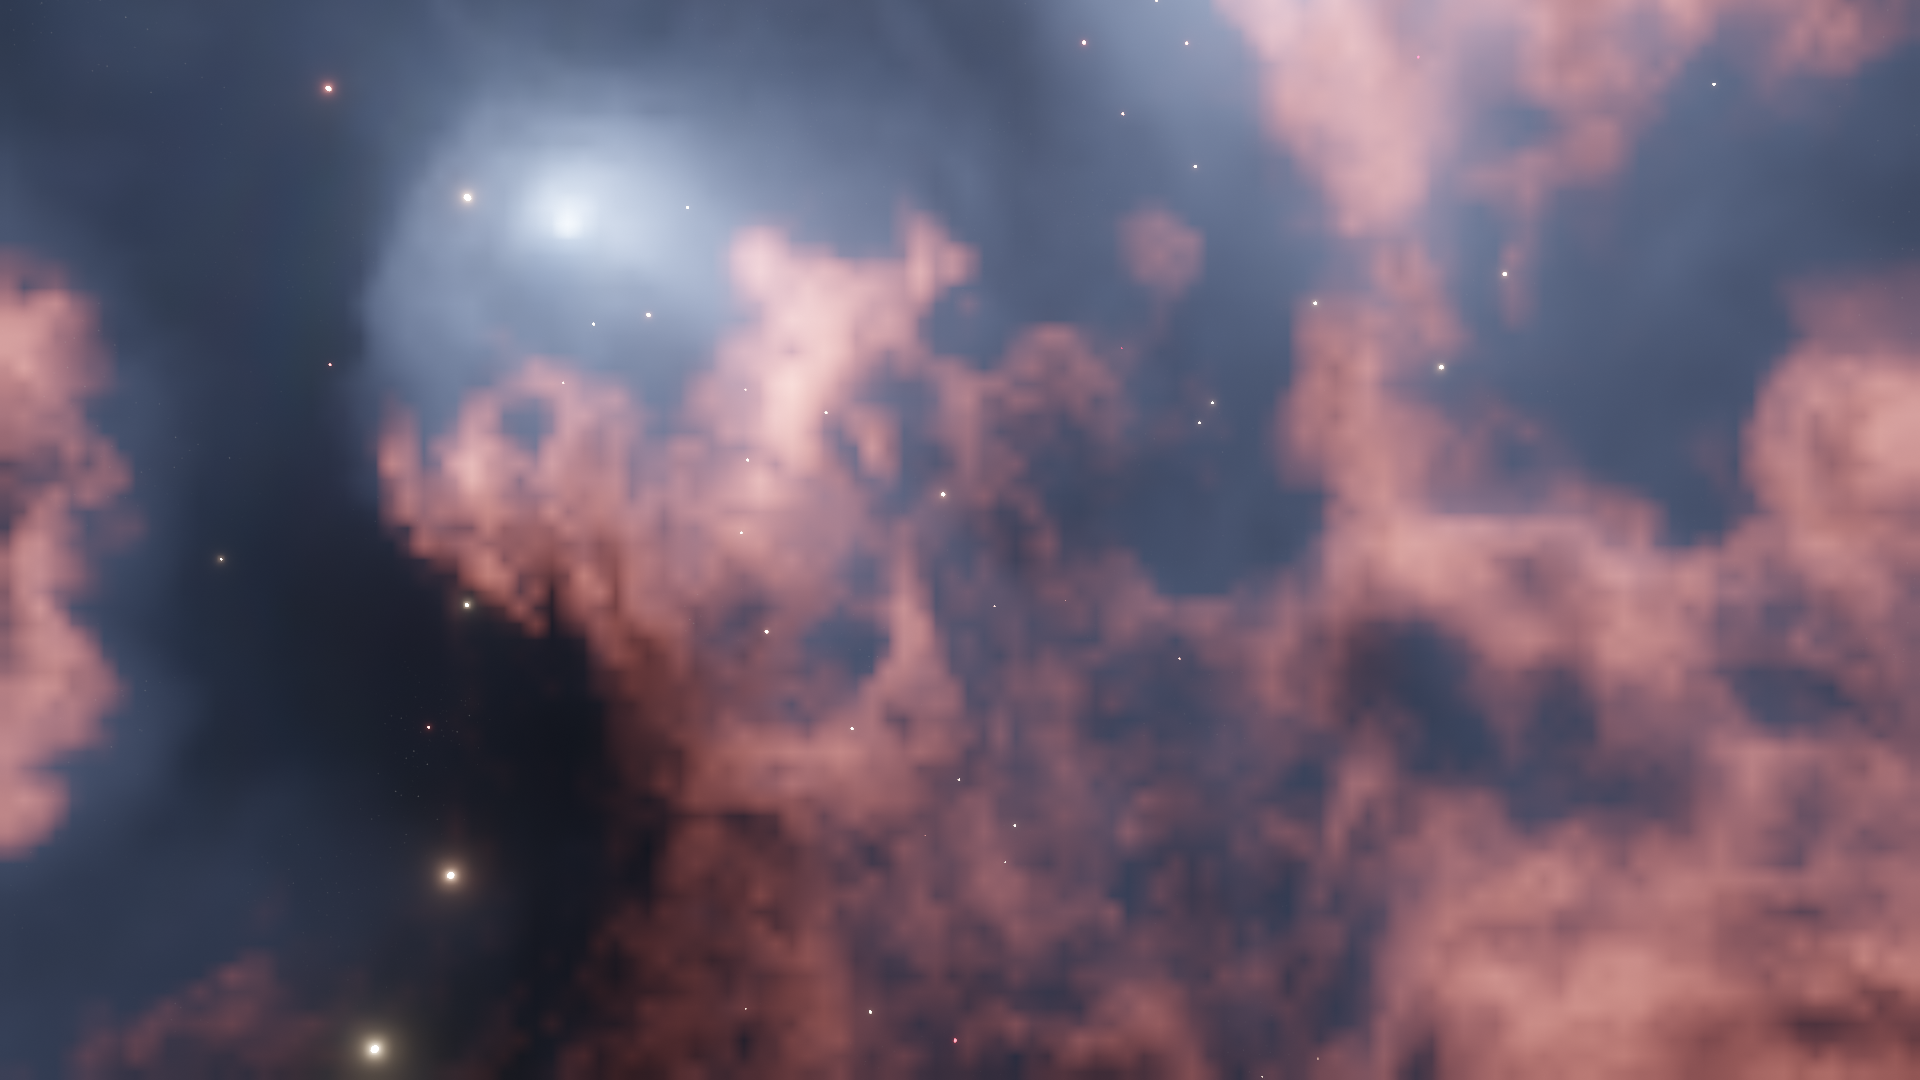
Resolution 1:16

Resolution 1:8
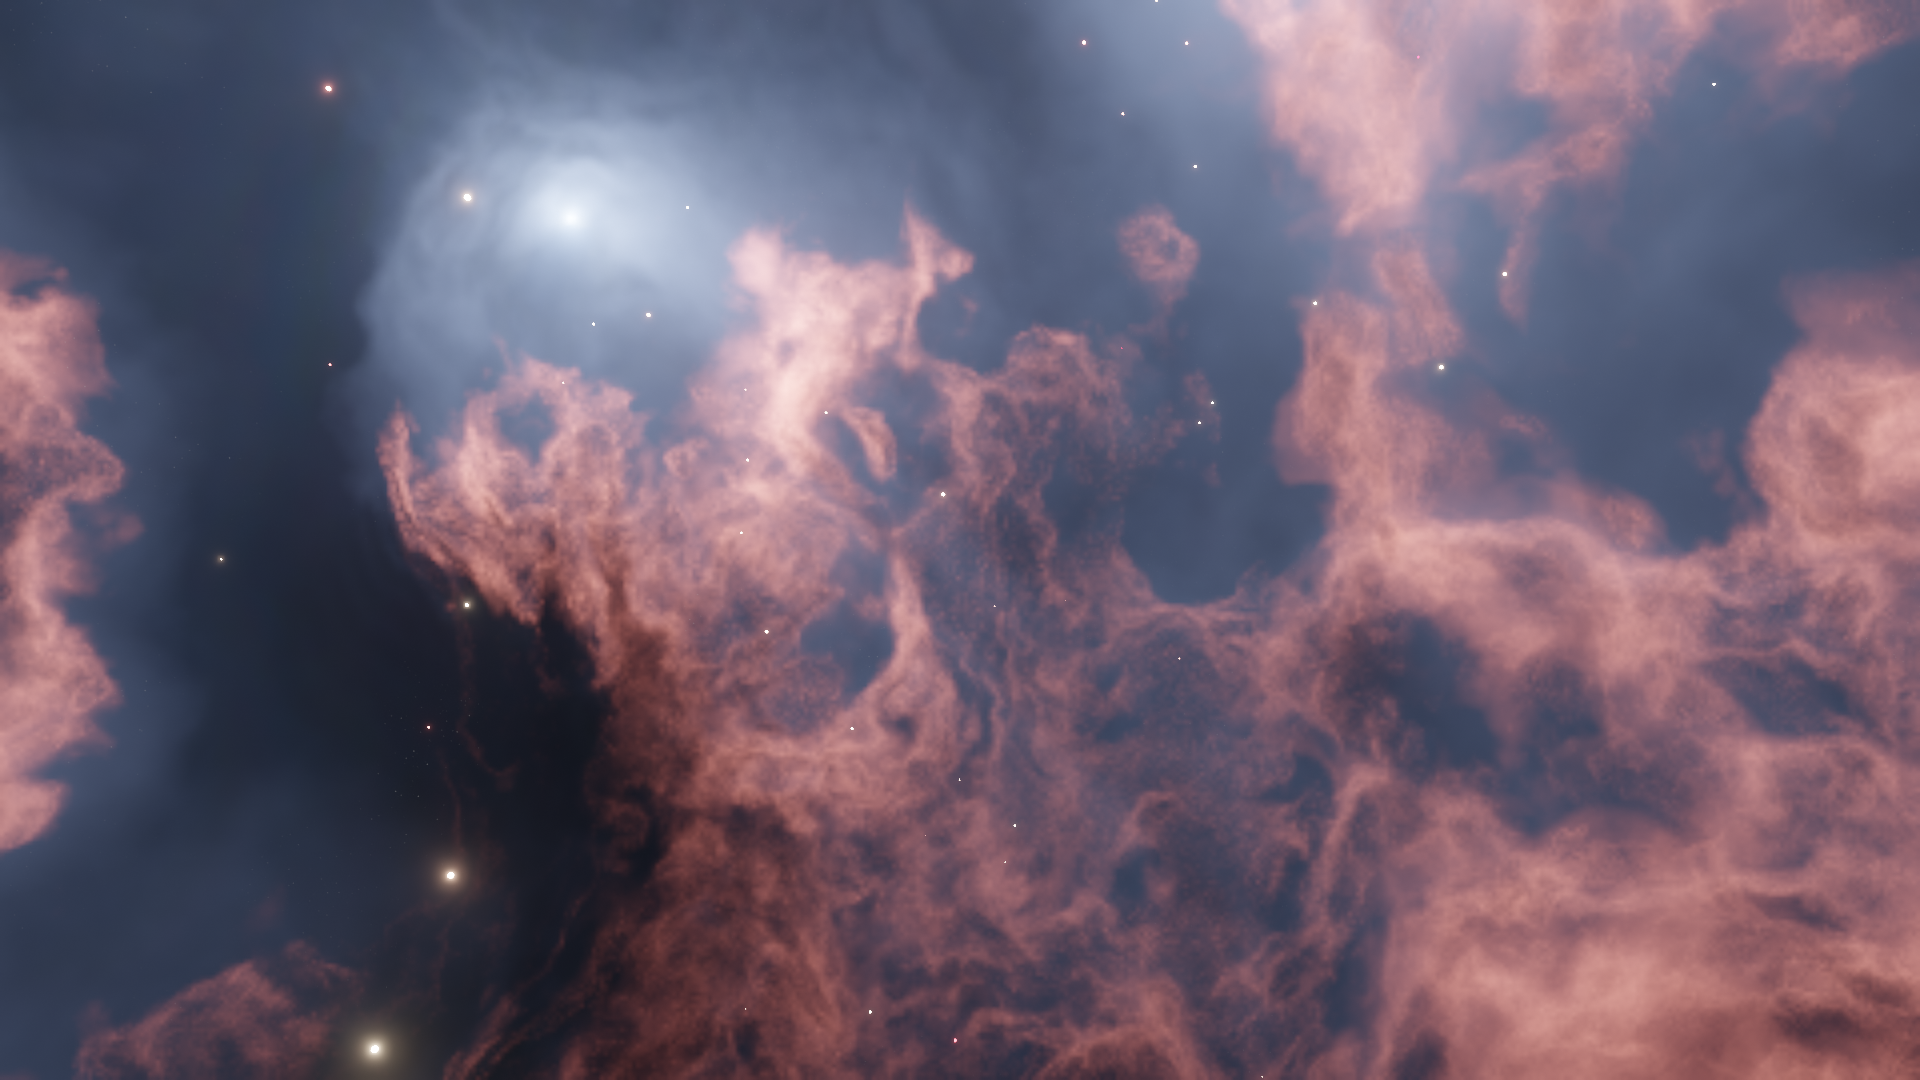
Resolution 1:4

Resolution 1:2
This setting can be found on Blender’s Render Properties tab or on the Nebula Generator’s Control Panel:
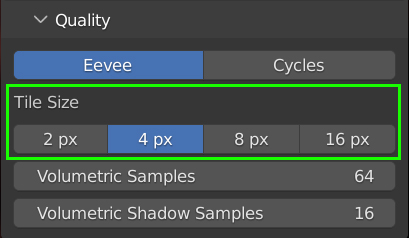
Increasing samples
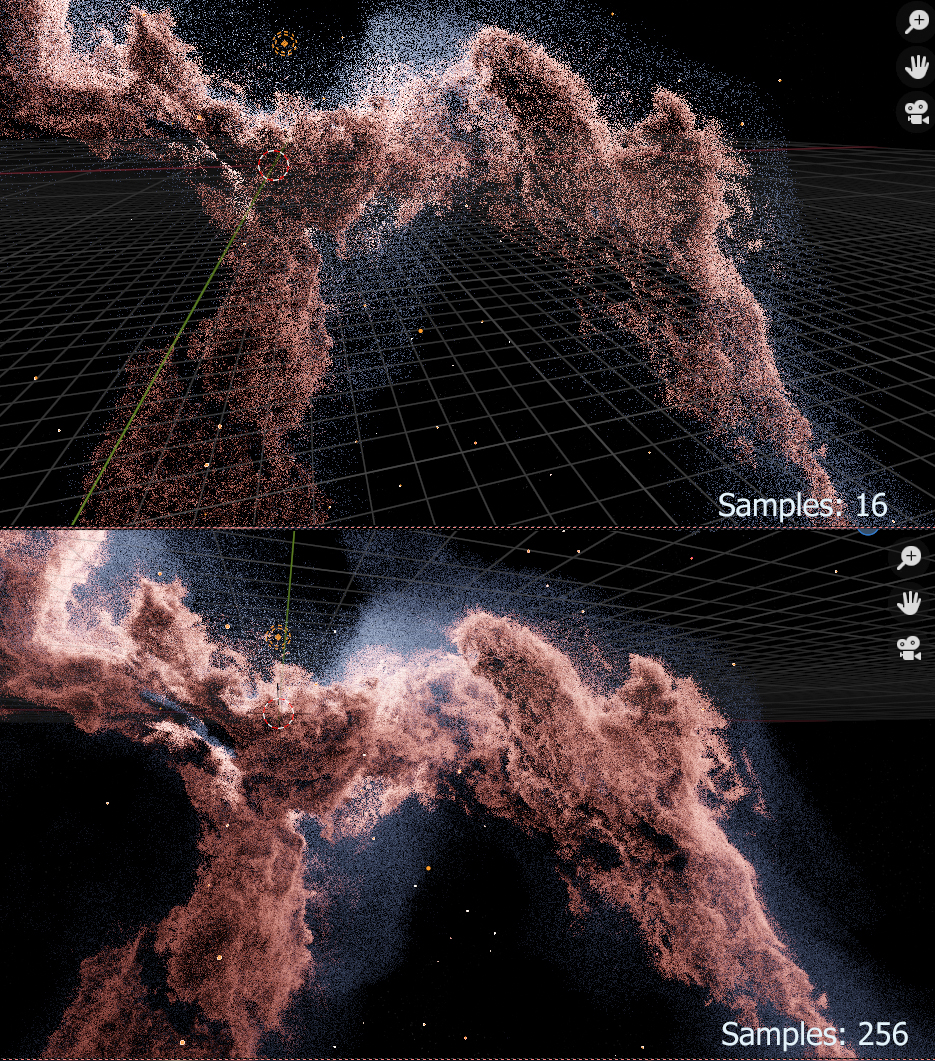
You can also increase the render samples, volumetric samples and volumetric shadow samples settings if you wish to have greater thickness and contrast at the expense of performance. Increasing the render samples will decrease any speckles in the clouds, especially around light sources.
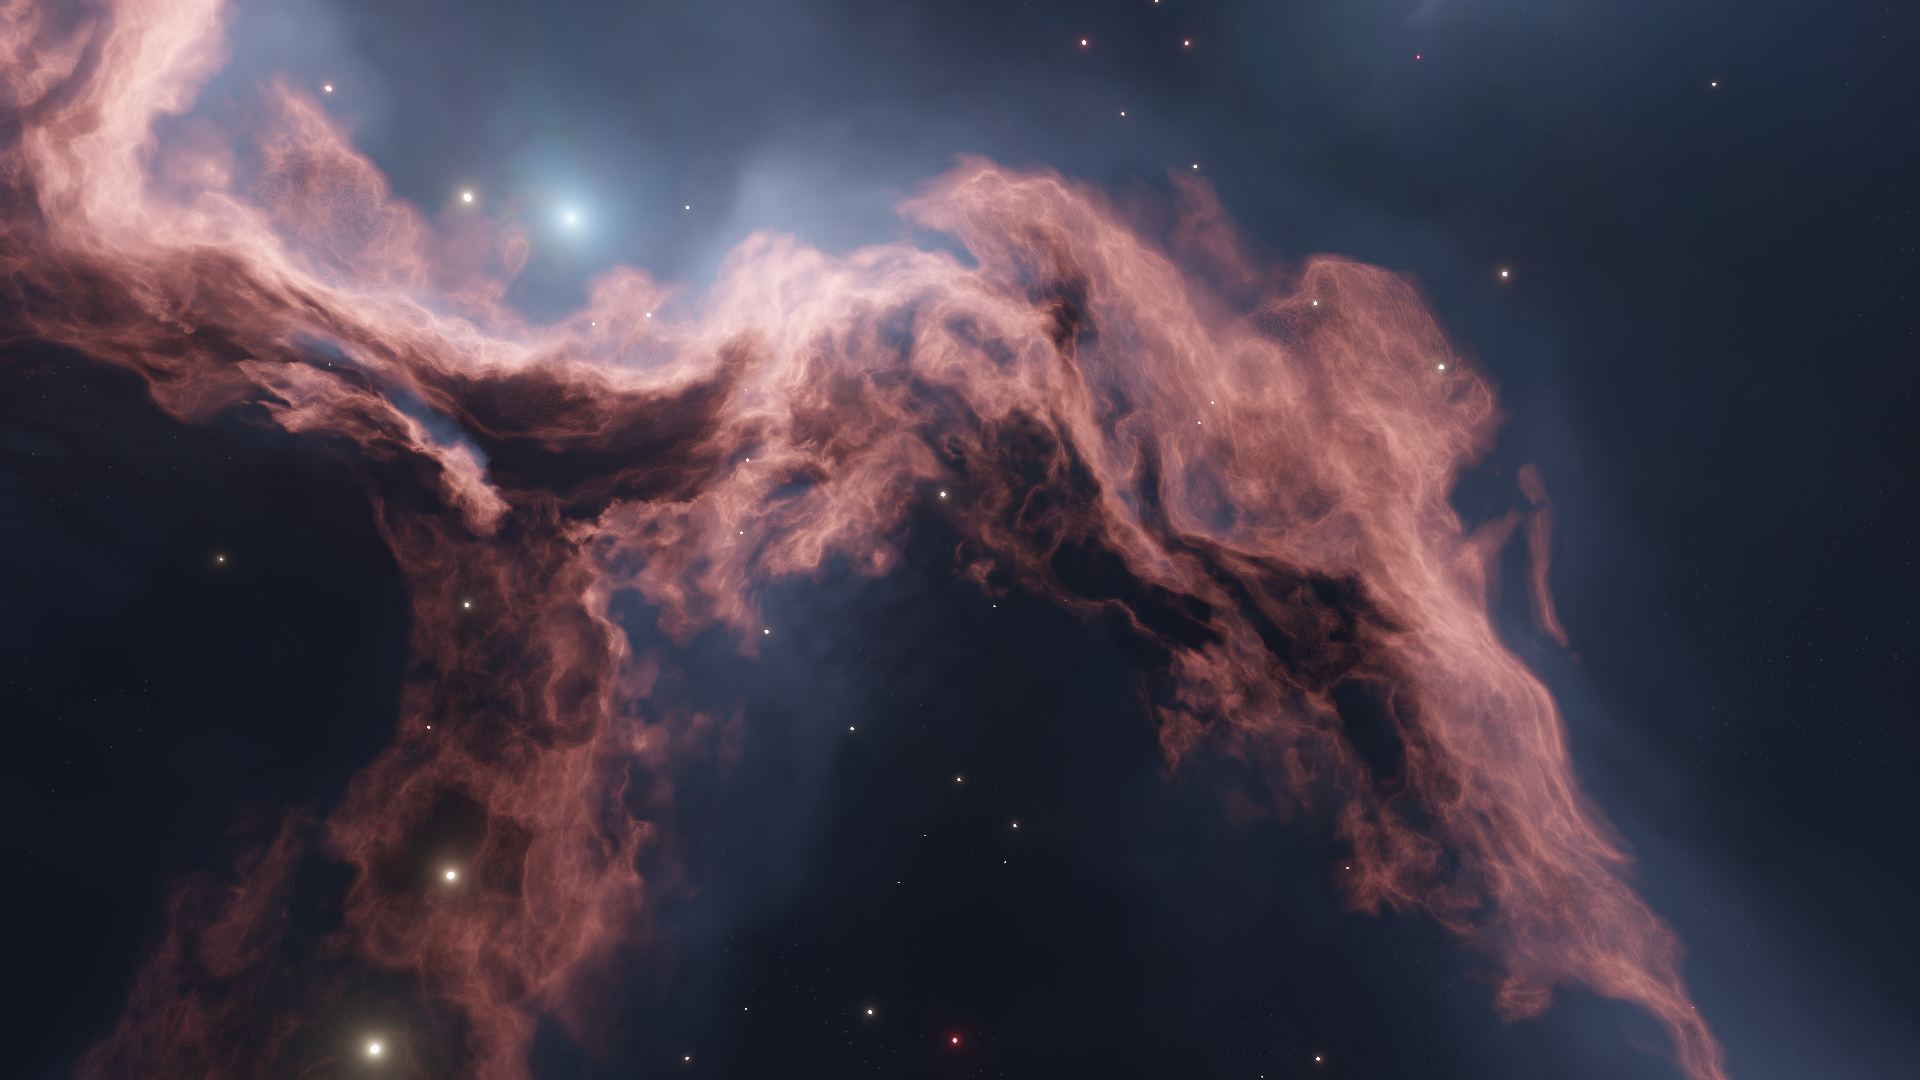
64 Volumetric Samples, 16 Shadow Samples (click to enlarge)
128 Volumetric Samples, 32 Shadow Samples (click to enlarge)
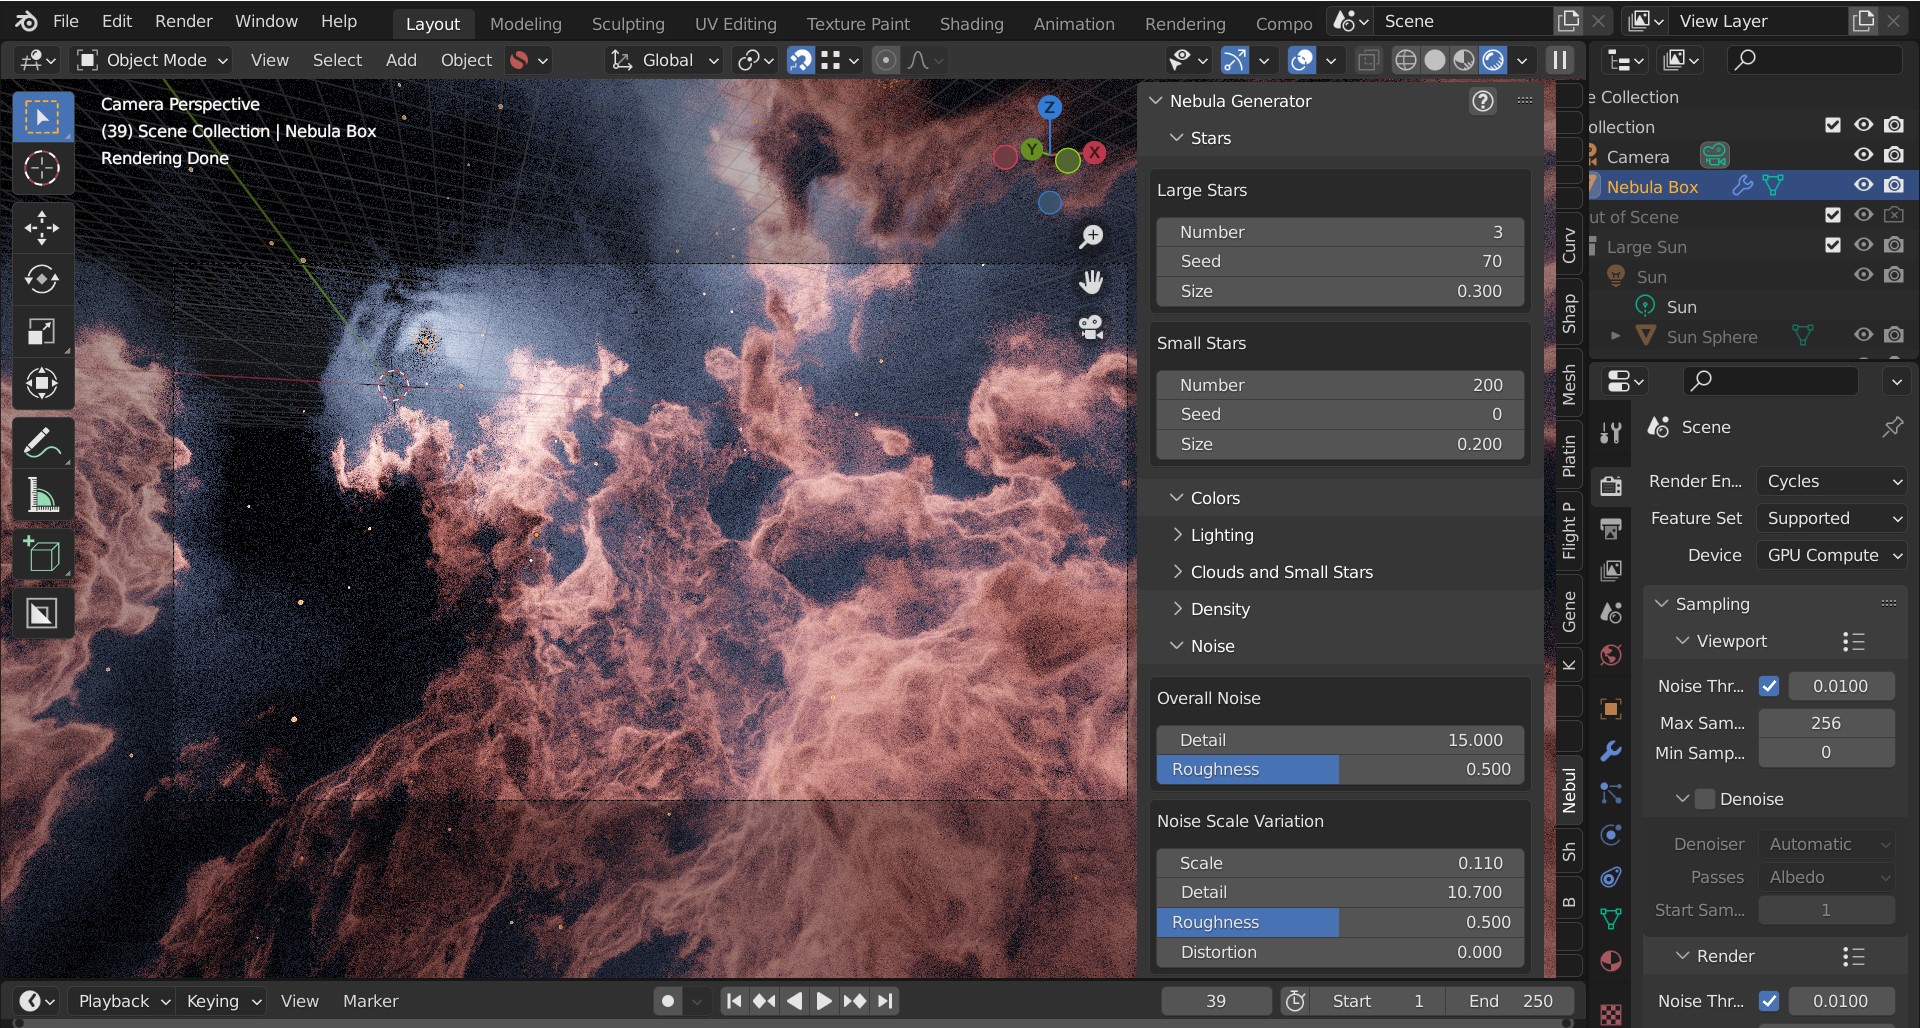
How can I improve the Cycles render?
Tip
There are further hints and tips about which Cycles settings to change in the Cycles Quality Settings section.
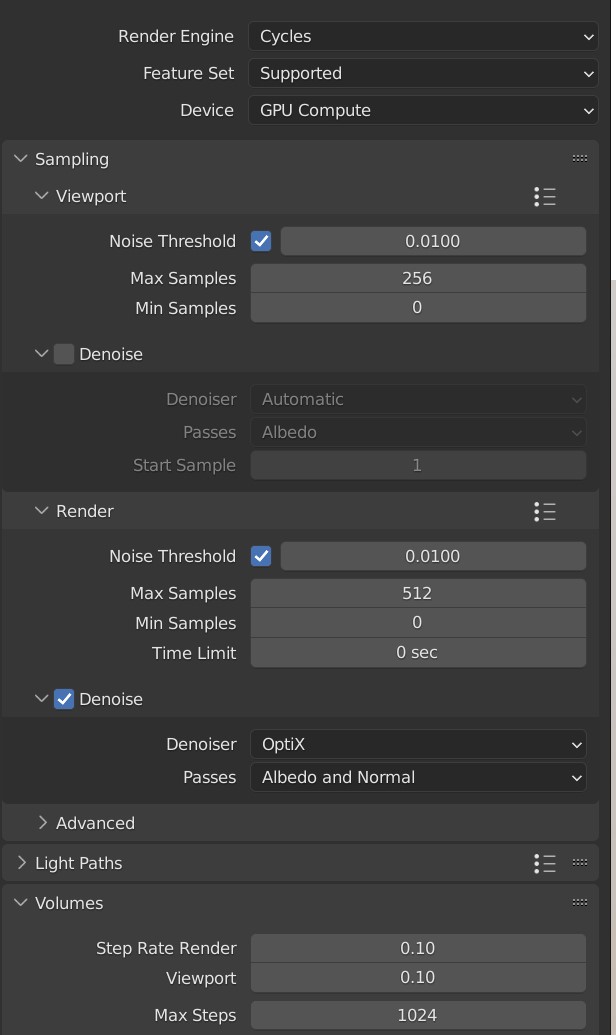
Recommended settings
Key recommended settings in the Render Properties are as follows:
Noise Threshold is checked (turns on Adaptive Sampling) and set to
0.01000.Max Samples Viewport: 256 Render: 512
Denoise is enabled at render time to remove Fireflies/speckled in the final render. Use the Optix denoiser of you have an NVidia GPU.
Volume Step Rate is set between 0.1 and 1.0 (lower settings improve thickness and quality).
Which values to change
Go to the the Cycles Quality Settings section for further hints and tips.
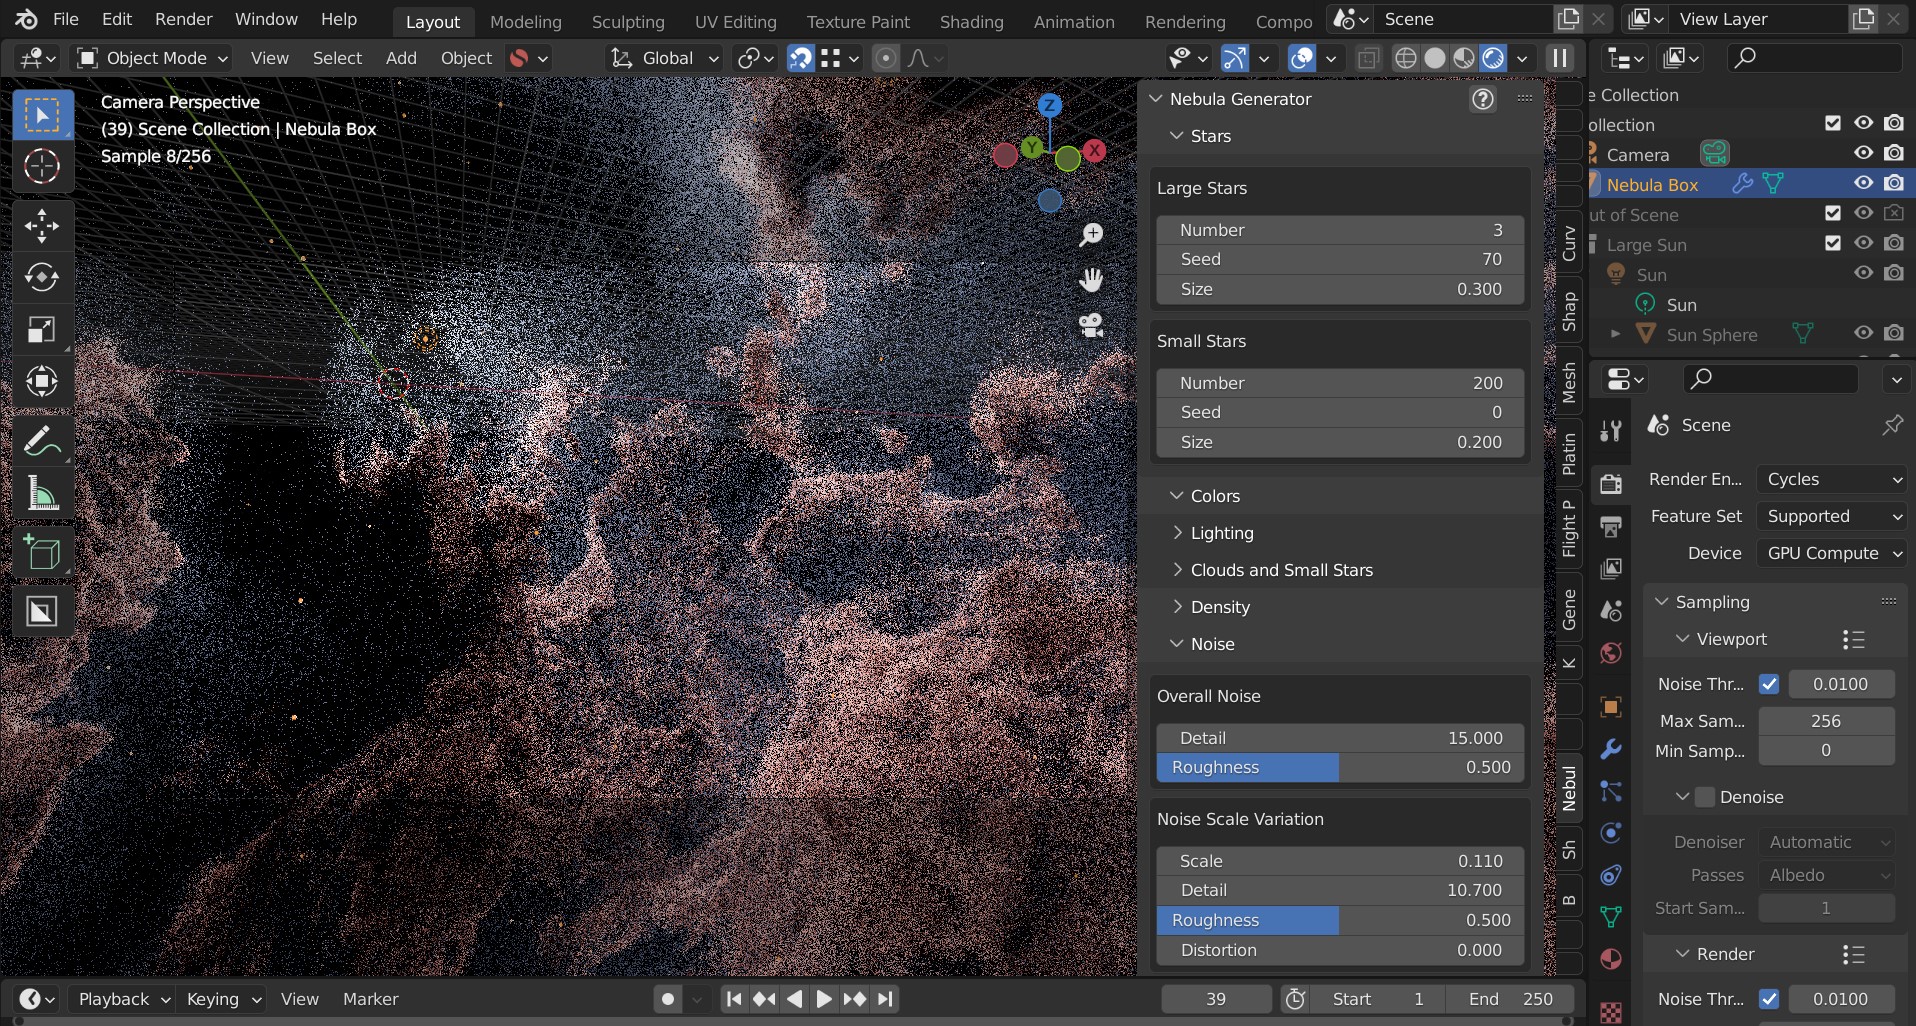
The main parameter will be the Samples setting under the Samples tab of the Render Properties section in Blender. This increases the number of times Cycles calculates a render pass. Increasing this setting improves the quality and detail, and it is recommended to increase this in multiples of 32 to optimise the computer’s memory address size allocation (e.g. 32, 64, 128, 256, 512, 1024). Higher values will slow render times, however, which can be countered by the use of other settings such as Adaptive Sampling.
Change the Adaptive Sampling threshold value tells Cycles to estimate the amount of noise/Fireflies in an image, and to stop rendering an image tile when it is of a good enough threshold. Reducing the threshold value makes Cycles more particular at identifying noise/Fireflies in an image tile.
Enabling the Denoiser will attempt to remove unwanted Fireflies from the image, but still needs to be used in tandem with higher samples settings. Note that the open source denoiser has occasionally caused crashes.
How can I create a panoramic skybox?
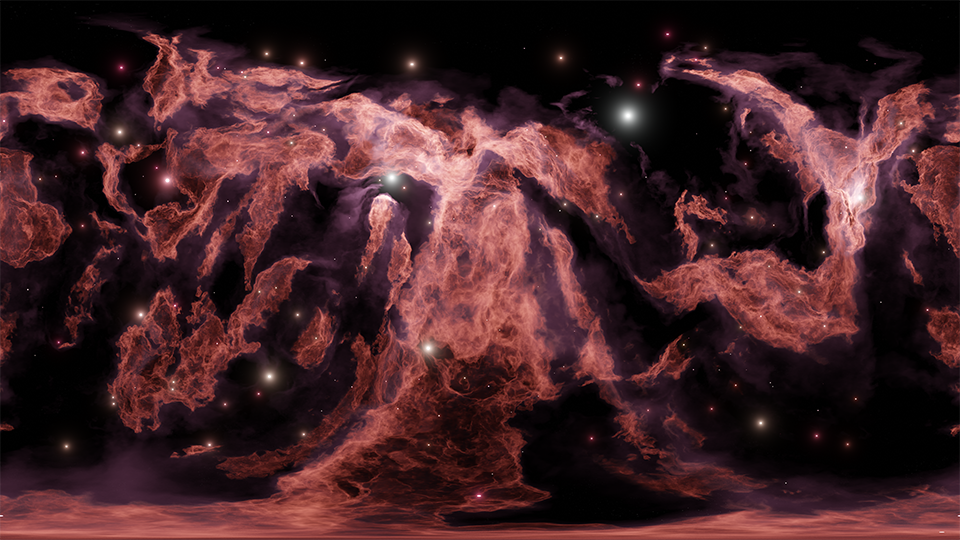
Panoramic Skybox Example (Cycles Only)
Warning
This works for Cycles only. Eevee does not have panoramic camera settings at the moment.
You are able to render a panoramic view of the nebula in Cycles mode which is useful for creating HDRIs and background environments for games:
Make you are in Cycles rendering mode.
Move the camera to the center of your scene (location 0,0,0).
Select the camera and go to the ‘Object Data Properties’ tab on the right hand panel.
In the Lens section change the following:
Type: Panoramic
Panorama Type: Equirectangular
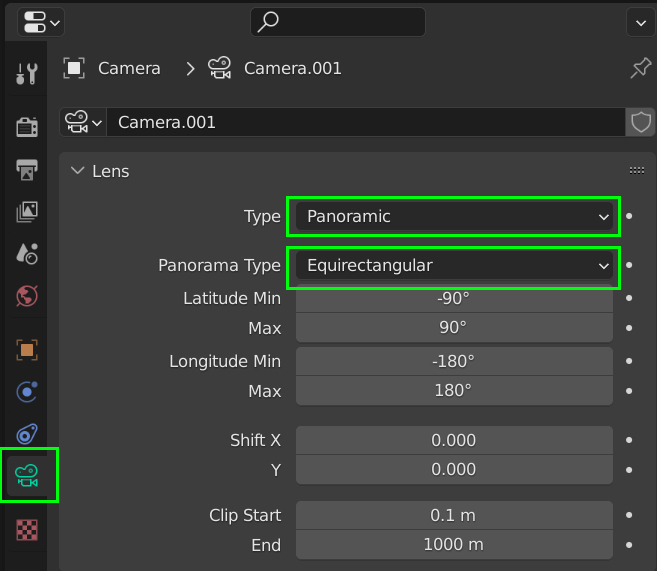
You should now be able to view and render a panoramic view in the viewport.
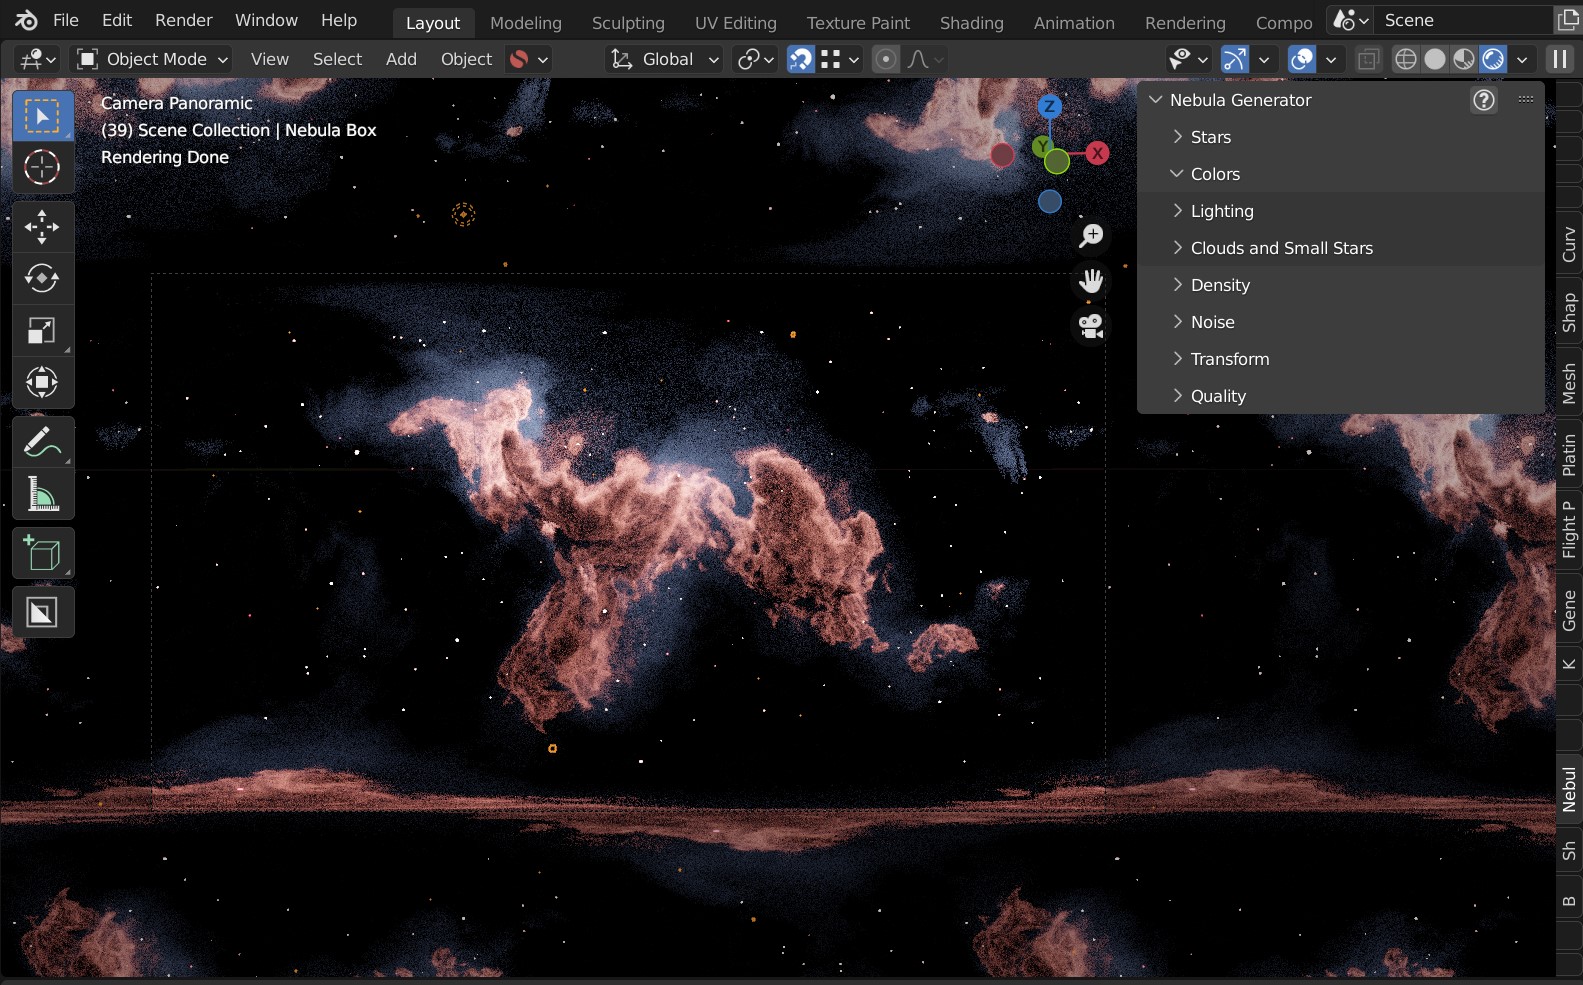
Note
As star glow is added to the image afterwards you may notice cut-off glows when the image wraps around a spherical background. You can address this by disabling the Bloom in the control panel (the Bloom Node can also be disabled in the compositor) or by correcting the result in an image editor.